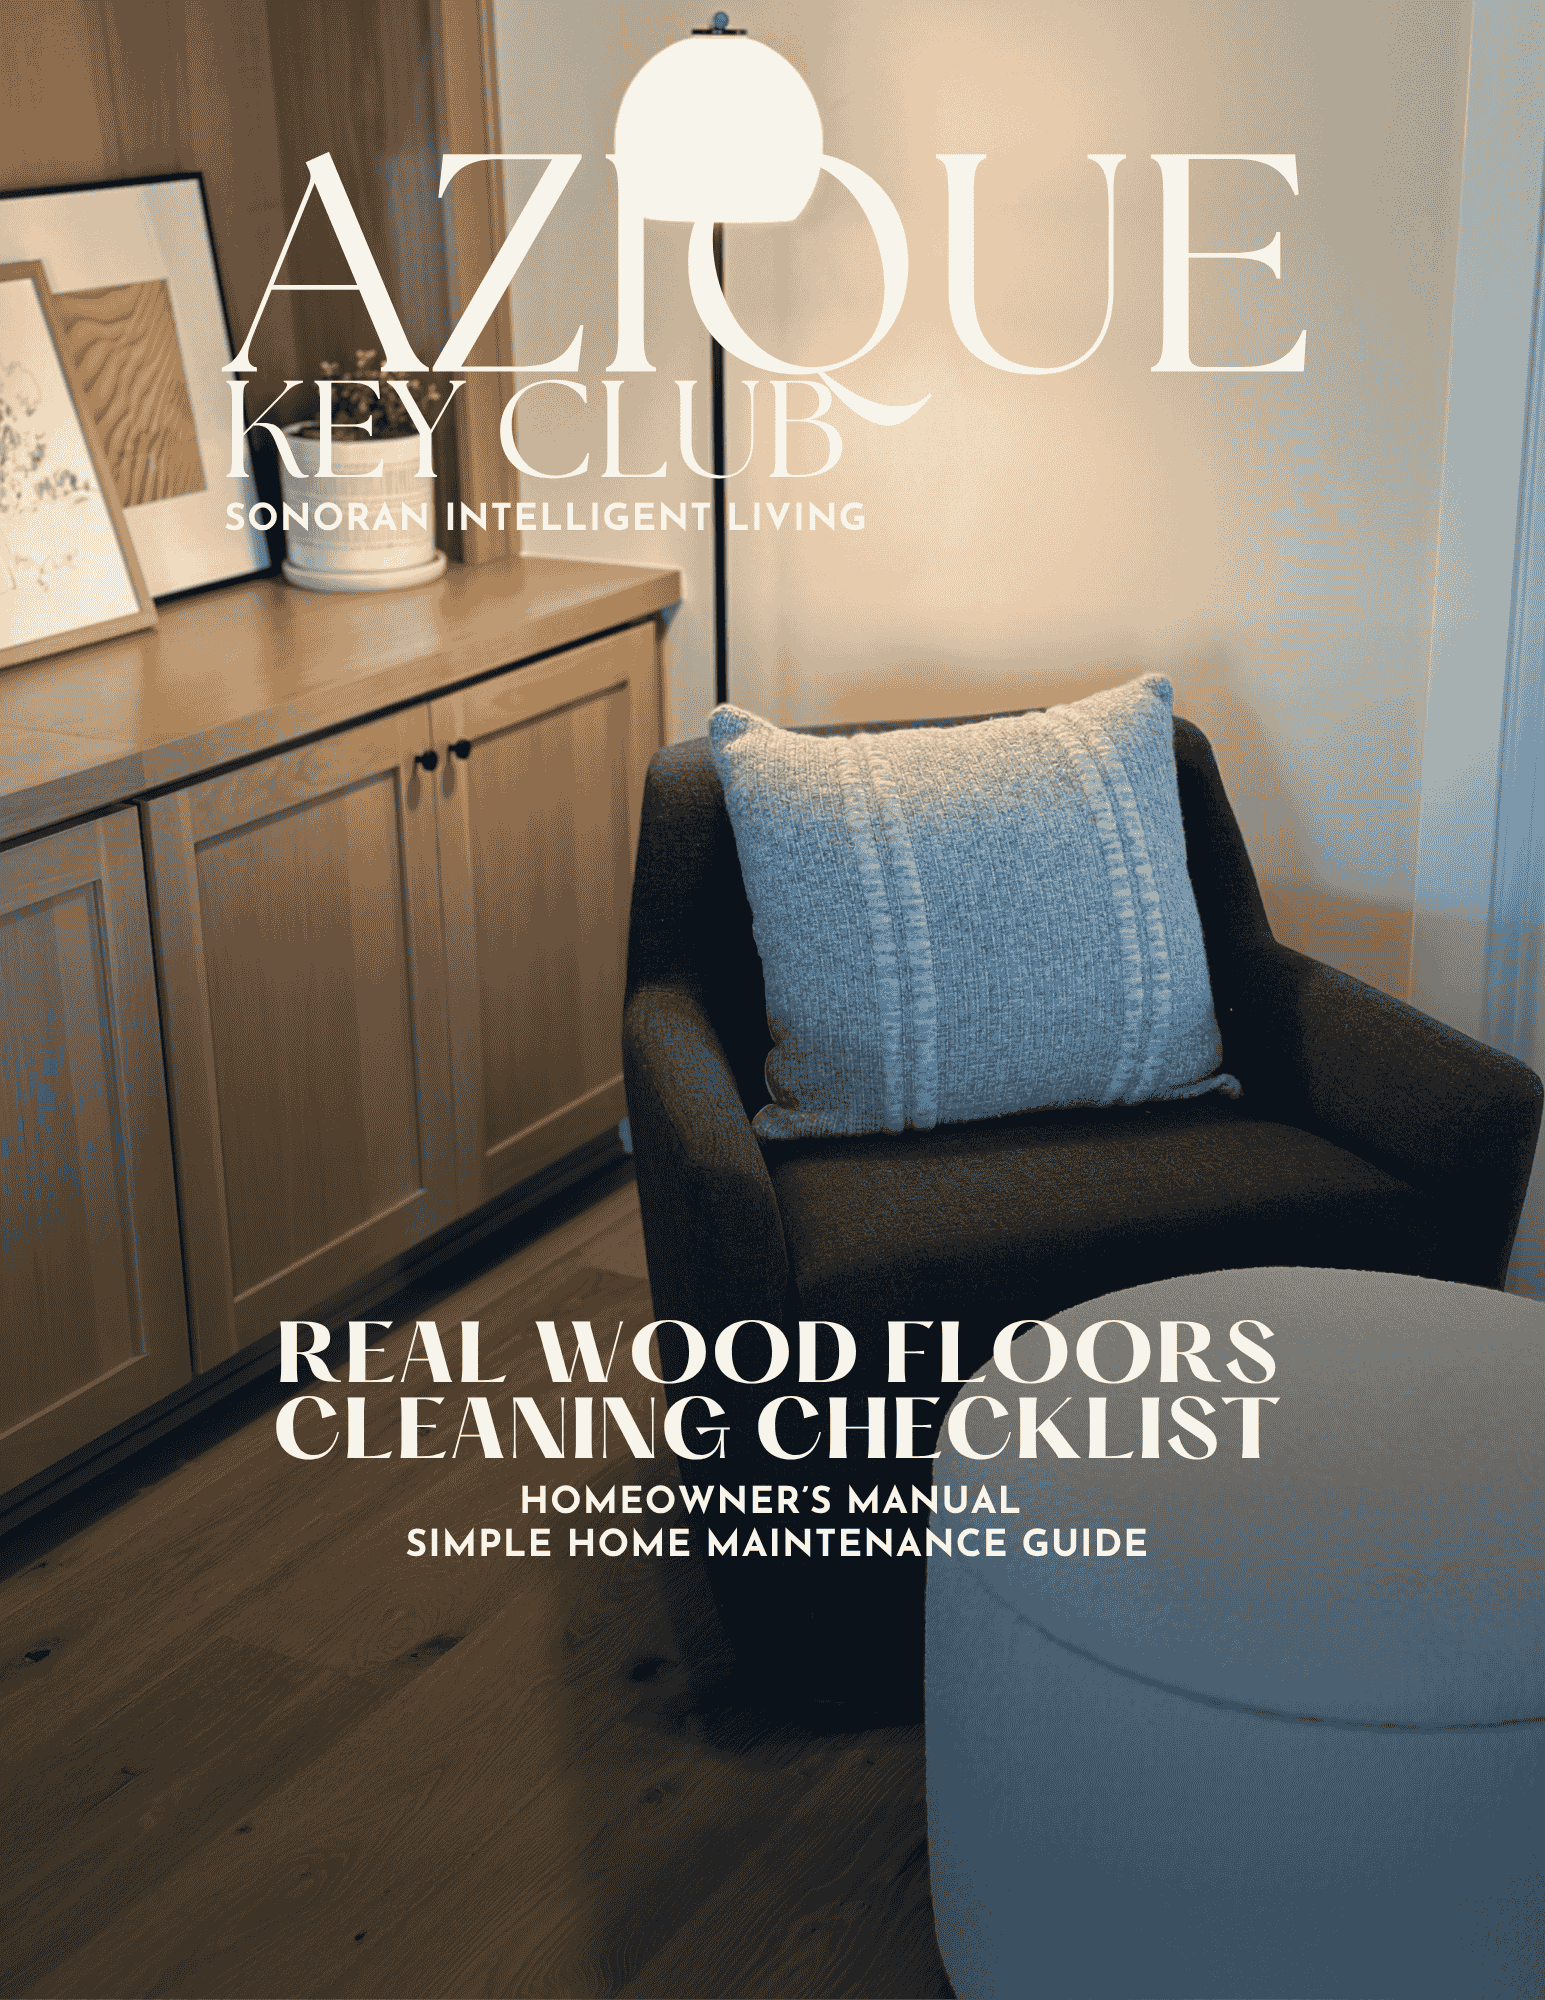
Real Wood Floors Cleaning Checklist
Here’s a comprehensive checklist for cleaning and maintaining real wood floors, ensuring their natural beauty and durability are preserved:
- Broom or microfiber dust mop
- Soft microfiber cloths
- Vacuum cleaner with a hardwood floor setting (or a vacuum with a soft brush attachment)
- Mild dish soap (pH-neutral)
- Warm water
- Wood floor cleaner (specifically for oak or hardwood)
- White vinegar (optional, for stubborn grime)
- Damp mop (microfiber or soft-bristled)
- Floor polish or wood conditioner (optional, for shine and protection)

Step 1: Clear the floor of any furniture, rugs, or obstacles to ensure full access to the entire floor.
Step 2: Sweep the floor or use a microfiber dust mop to remove dirt, dust, and debris. This helps prevent scratching when cleaning.
Step 1: For regular cleaning, use a soft broom or microfiber mop to remove dust, dirt, and debris daily. This helps prevent buildup that can dull the finish.
Step 2: Alternatively, vacuum the floor with a vacuum cleaner set to the hardwood setting, or use a vacuum with a soft brush attachment to avoid damaging the wood.
Step 3: Avoid using vacuums with beater bars as they can cause scratches or damage to the surface.
Step 1: Mix a few drops of mild dish soap in a bucket of warm water (avoid harsh detergents, wax-based cleaners, or abrasive cleaners that can damage the wood).
Step 2: Lightly dampen a microfiber mop in the soapy water. Be careful not to soak the mop or the floor as excessive moisture can damage wood.
Step 3: Mop the floor in small sections, moving along the grain of the wood. Be sure to avoid standing water, and immediately dry any excess water with a clean microfiber cloth to prevent water from seeping into the wood.
Step 1: For areas with stubborn grime or dirt buildup, add 1/4 cup of white vinegar to a gallon of warm water. This mild solution can help lift sticky residue without damaging the finish.
Step 2: Dampen a mop with the vinegar-water solution, and mop the area gently. Wipe the area dry with a clean cloth immediately after mopping.
Step 1: For sticky spots or stains, use a soft cloth dampened with a small amount of wood-safe cleaner or a diluted vinegar-water solution.
Step 2: Gently scrub the area using circular motions, then dry with a clean, dry microfiber cloth.
Tip: Avoid scrubbing harshly, as it could scratch or dull the wood surface.
Step 1: If disinfecting is needed (e.g., high-traffic areas), use a wood-safe disinfectant or a diluted solution of 50% water and 50% isopropyl alcohol.
Step 2: Lightly spray the solution onto the floor (not directly, but on a microfiber cloth), then wipe down the area thoroughly. Allow the floor to air dry.
Step 1: If you desire additional shine, use a wood floor polish or wood conditioner designed for oak floors. Follow the manufacturer’s instructions.
Step 2: Apply the polish with a microfiber cloth, moving in the direction of the wood grain to maintain an even finish.
Step 3: Buff the floor gently using a clean, soft cloth to achieve a natural shine.
Note: Only polish the floor as needed (typically every few months), as excessive polishing can build up residue.
- Always use furniture pads or felt pads on the bottom of furniture to prevent scratching when moving items.
- Avoid high heels or shoes with hard soles that could dent the wood.
- Place mats or rugs at entryways to trap dirt and moisture, which could otherwise damage the floor.
- Use a humidifier in dry climates, as excessive dryness can cause the wood to shrink or crack. In humid areas, be cautious of moisture buildup, as it can warp or damage the floor.
- Regularly check for any cracks, scratches, or gouges in the wood. For deep scratches or surface damage, consult a professional wood refinisher for repairs.
- Avoid standing water on the surface at all times, as it can cause the wood to swell, warp, or discolor.
- Consider refinishing the floors every few years (depending on the wear) to restore the wood’s luster and maintain protection. Professional refinishing will renew the floor’s finish and extend its lifespan.
- If the finish starts to dull over time, you may need to restore the wood's surface using a floor refinishing kit or by consulting a professional for refinishing or resurfacing.
- Some oak floors may need periodic re-oiling or re-waxing, depending on the type of finish and wear. Always follow the manufacturer’s recommendations.
By following these steps, you can ensure your real oak wood floors remain pristine and functional, preserving their natural beauty for years to come.